By: Jessica Patterson
WordPress content is primarily organized in “pages” and “posts”. The process for making pages and posts are virtually identical.
Typically, I use pages for information I want displayed in my website’s menu and use posts for my blog content. A page on your website may include important information, a form, or even a collection of blog posts. For information on how to add posts to your blog click here. To get started you’ll need to log into your WordPress Dashboard.
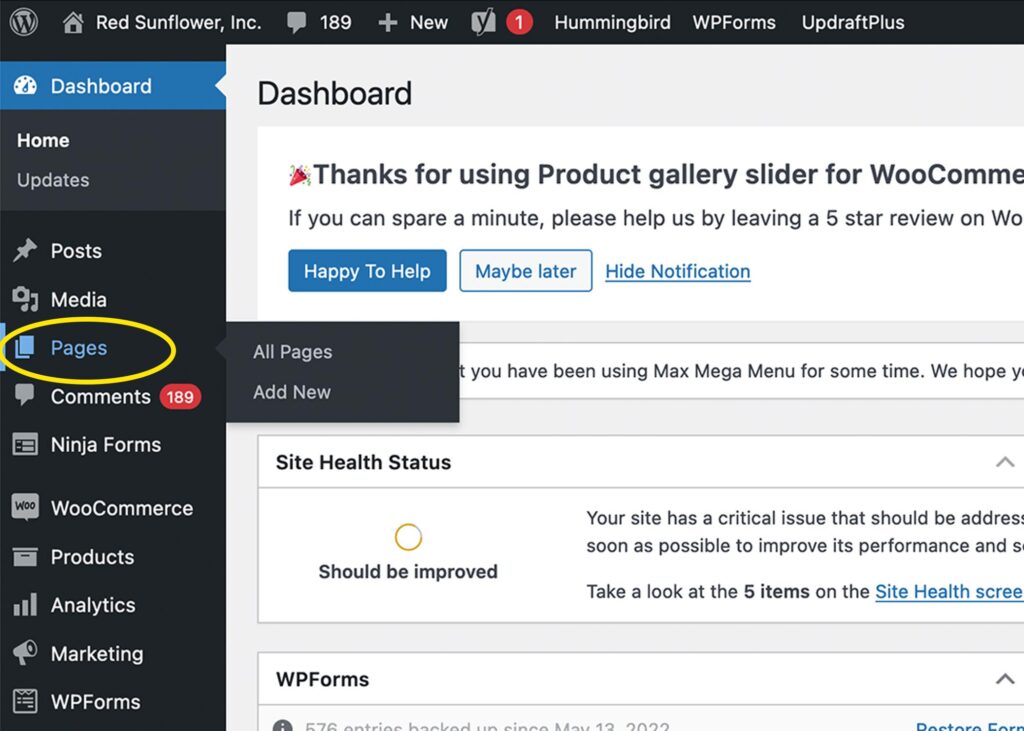
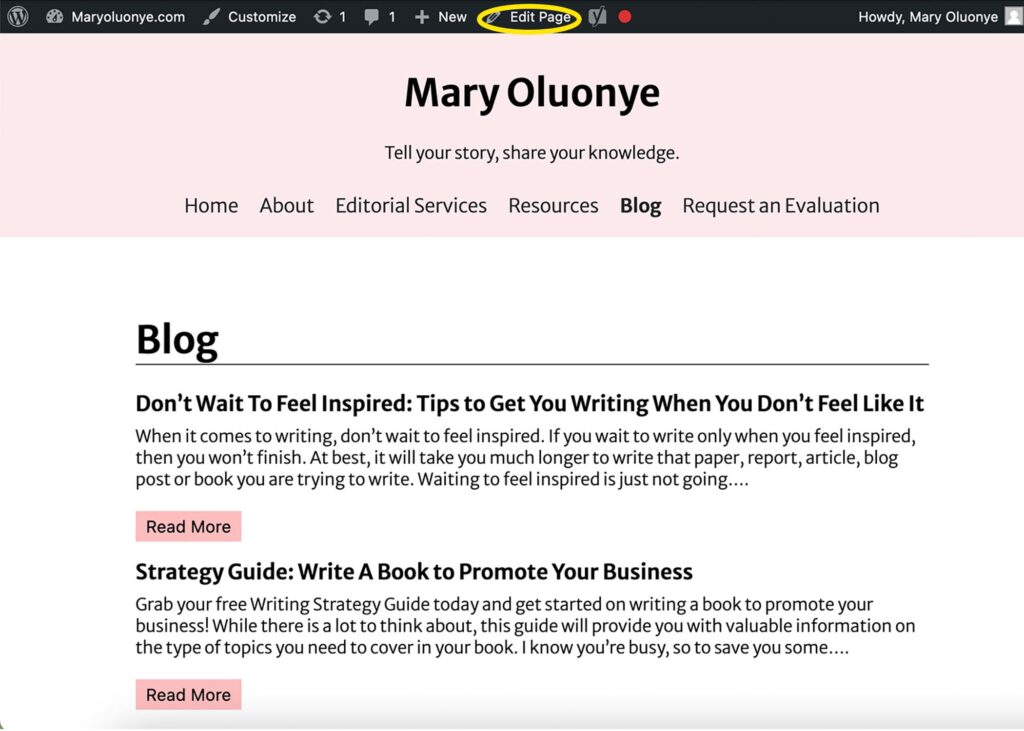
Once you’re logged in, look for the menu on the left side of the screen. Select “Pages” and then select “Add New”.
Next, you’ll need to add your page content.
Click the part of the screen that says “Add title” and type in a title. Then, click below the title where it says “Type / to choose a block” and start adding the text for your blog post.
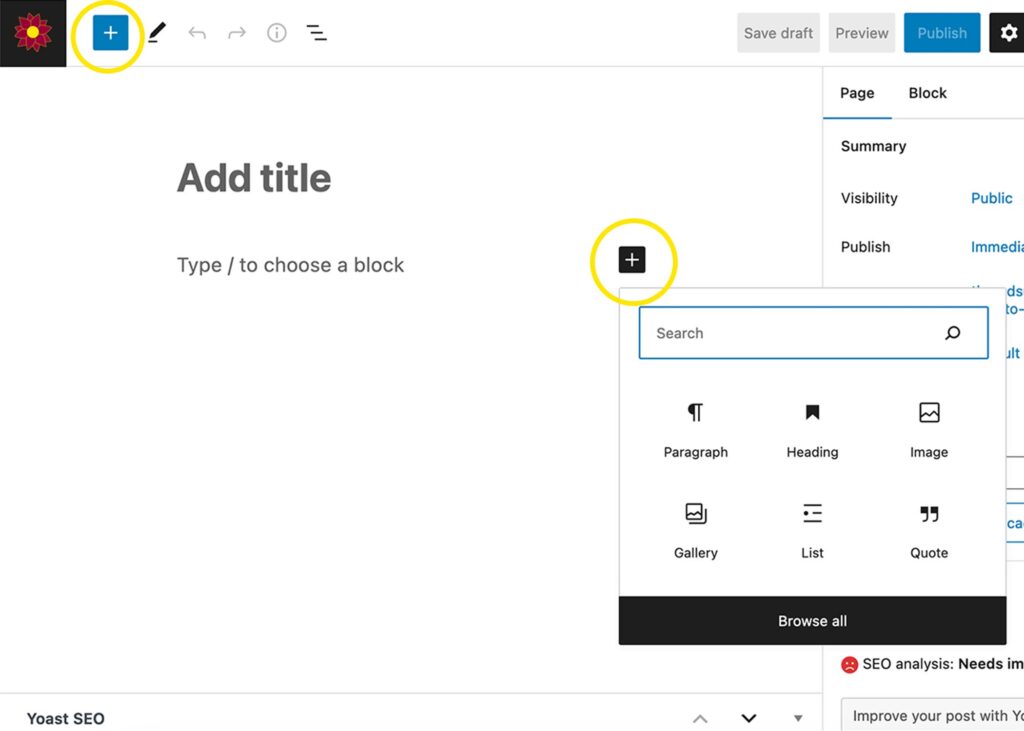
You can add photos, videos, forms, and more by clicking the gray plus sign on the middle/right side of your screen. There is also a blue plus sign in the top left corner of your screen that does the same thing.
The content types (also called blocks) I use the most are “paragraph”, “heading”, “image”, “gallery”, and “YouTube”.
Paragraph– used for regular text.
Heading– used for titles and text you want to be bigger and bolder.
Image– used to add photos to your page.
Gallery– used to add a collection of photos to your page
YouTube– the best way to add videos to your page is to upload them to YouTube and add a link to the video from your page.
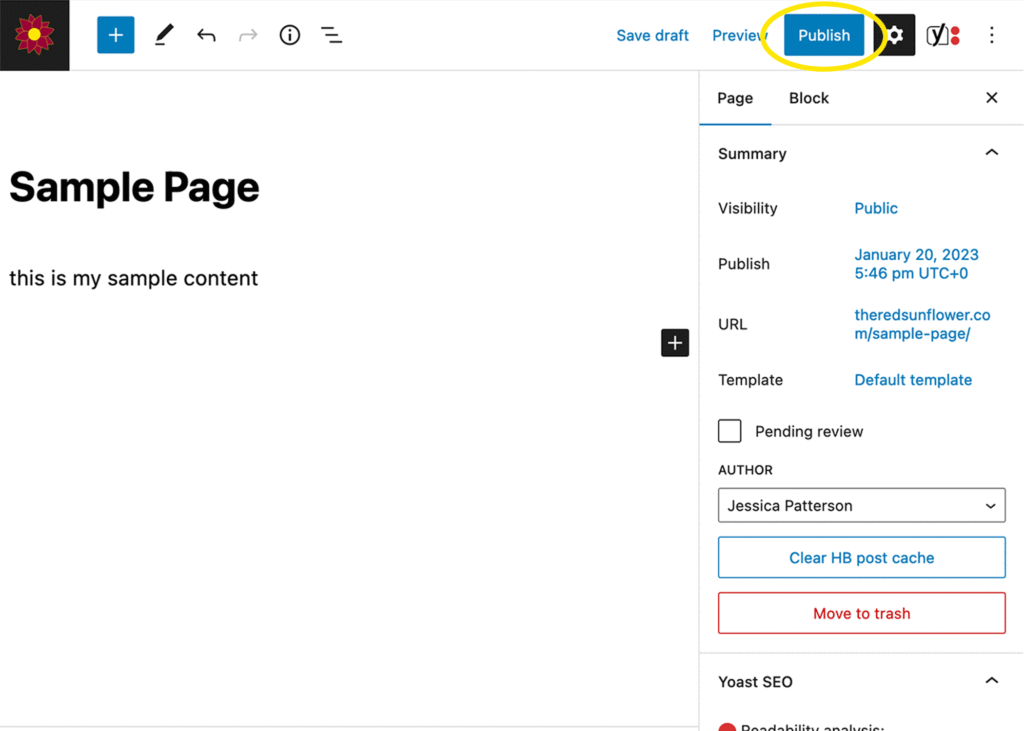
Once you’re satisfied with the content of your page hit publish.
The “Publish” button is blue and in in the top left corner of the screen. It will ask you to confirm that you would like to publish the post so hit “Publish” again. This will make your new page public on the internet.
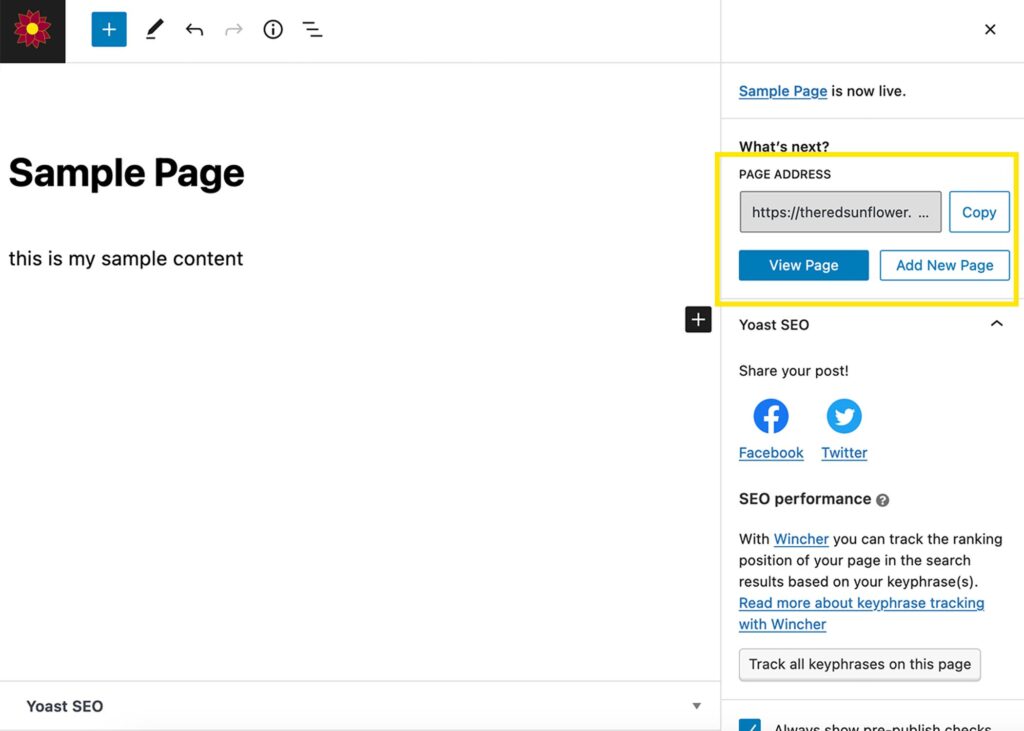
After you’ve published your page you can check that everything looks how you expect by clicking the “View Page” button.
After you’ve checked out your page, you can return to your dashboard home page by clicking the icon in the top left corner of the screen.
Once you are satisfied with how your page looks, it is ready to share with the world!
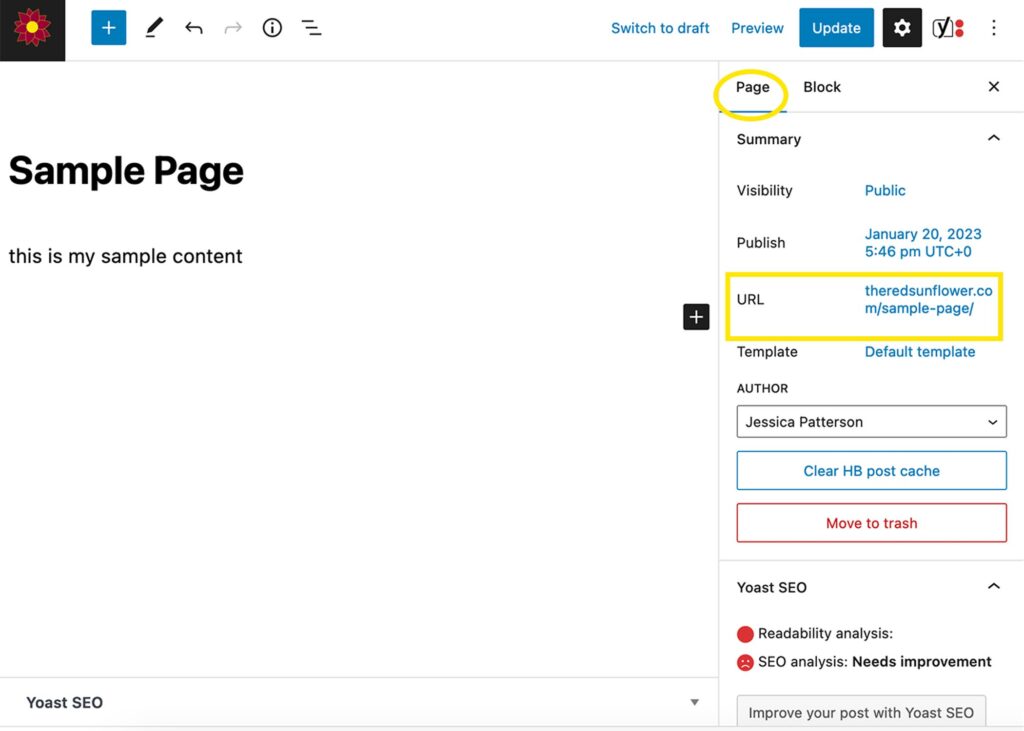
To improve your page’s visibility you may want to add the page to your website’s menu. You can also share a link to the newly created page in your email list, social media posts, and you can text it to your contacts. To find the link/URL for your newly created page, return to your WordPress Dashboard. Select Pages, and click on the name of the page you want the link/URL for. Look for the URL on the right side of the screen. If you don’t see it, click on the gear icon in the top right corner of the screen and make sure “Page” is underlined in the box below it.
Websites can be confusing.
If this tutorial has you stumped don’t stress, just contact us and we will help you get your website exactly how you like it!
Leave a comment.