By: Jessica Patterson
Looking at a big block of code can be overwhelming.
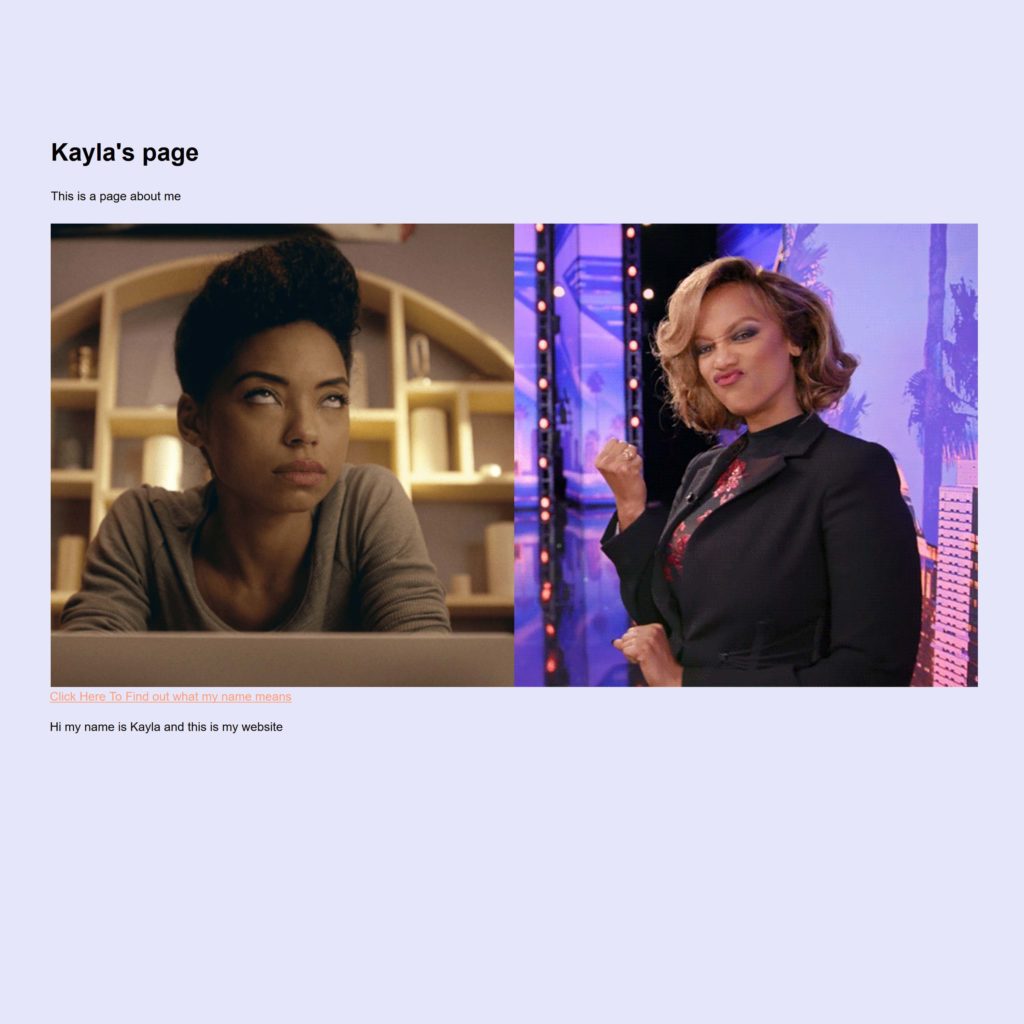
At Code Camp by Red Sunflower, we write our code bit by bit. We break down each piece of code to understand how all the pieces work together. HTML code provides the basic structure of a webpage. The code sample below was written by Kayla. Kayla is 13 years old. She loves gifs and the Dancing Dolls.

<div id="kaylascontent">
  <h1 class="kaylastext">Kayla's page</h1>
  <p class="kaylastext">This is a page about me</p>
  <img class="kaylaspics" src="https://theredsunflower.com/wp-content/uploads/2018/07/giphy-1.gif">
  <img class="kaylaspics" src="https://theredsunflower.com/wp-content/uploads/2018/07/giphy3.gif">
  <a href="http://www.sheknows.com/baby-names/name/kayla">Click Here To Find out what my name means</a>
  <p class="kaylastext">Hi my name is Kayla and this is my website</p>
</div>
This is how Kayla’s HTML looks like on the website.
Let’s break it down..
Each line of code is represented below by a different color. See if you can match each section with it’s corresponding line of code.
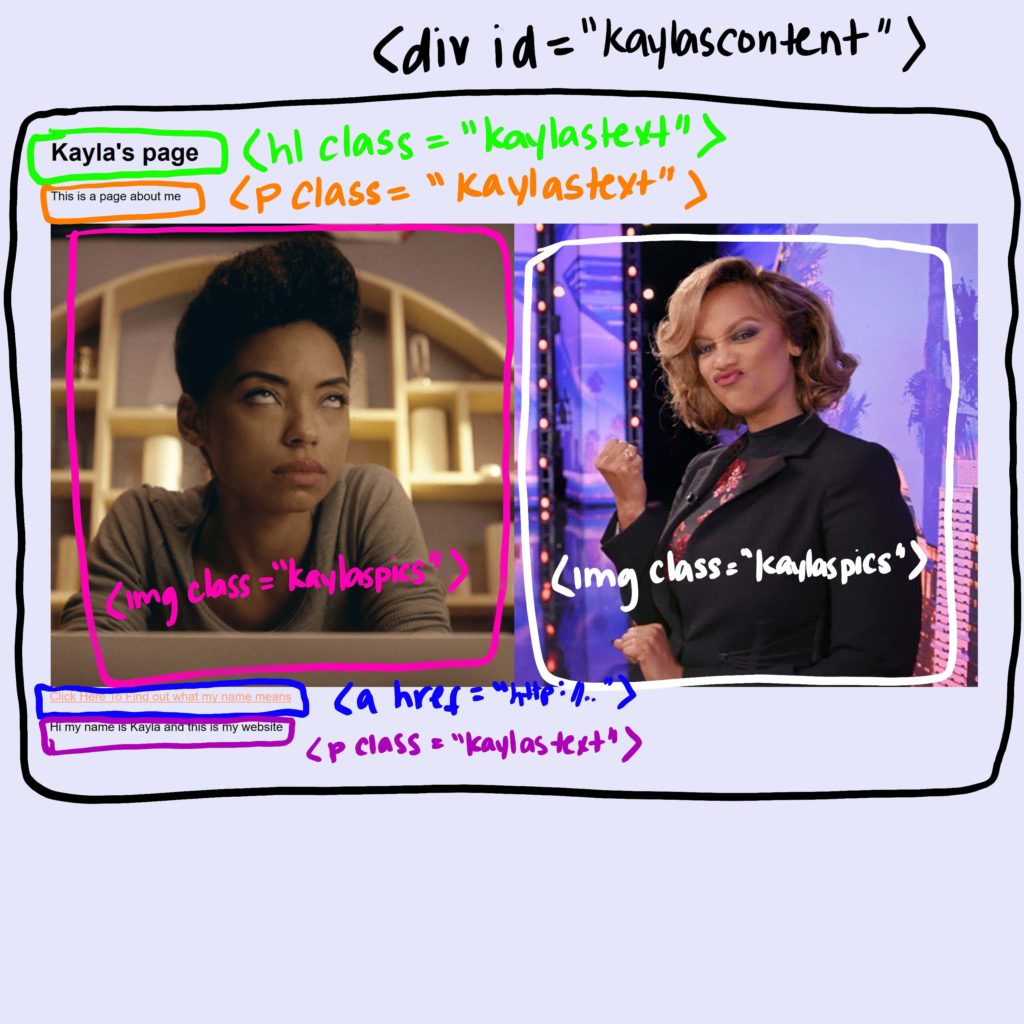
<div> is a Divider
In HTML, when we want to separate blocks of code we will “wrap them in a <div>”. This means we will put a <div> at the beginning of our code block and a </div> at the end of our code block. In the above example, Kayla wrapped all of her code in a <div> named “kaylascontent”. To name a <div> you must assign it an id or a class. Practice making your own <div> using the template below.
<div id="your-divider-name">
  write your code here
</div>
<h1> makes Headlines
We use <h1> when we want to make our text REALLY BIG like the headline of a newspaper. We usually use the <h1> tag for page titles. See if you can find the <h1> tag in Kayla’s code. Let’s add an <h1> tag to our template.
<div id="your-divider-name">
  <h1>This is my title</h1>
</div>
<p> is for Paragraph
We use <p> for the main page text. Your paragraphs should always be “wrapped in <p> tags”. This means you will have a <p> at the beginning of your text and a </p> at the end of your text. Let’s add a paragraph to our template.
<div id="your-divider-name">
  <h1>This is my title</h1>
  <p>This is the main text of my page. Look at me I'm coding.</p>
</div>
<img> is for Images
An <img> tag adds an image to your webpage. The most important part of the <img> tag is the src attribute. The src attribute tells the computer the URL (location) of your image file. Check out the updated template below.
<div id="your-divider-name">
  <h1>This is my title</h1>
  <p>This is the main text of my page. Look at me I'm coding.</p>
  <img src="https://theredsunflower.com/my-image.jpg">
</div>
To add your own image, simply replace “https://theredsunflower.com/my-image.jpg” with the URL of your favorite selfie.
<a> is for Links
The <a> tag is for links. This is a link. <a> tags work like <p> tags except they require a href attribute. The href attribute tells the computer where to go when a link is clicked. Try writing your own link with the template below.
<div id="your-divider-name">
  <h1>This is my title</h1>
  <p>This is the main text of my page. Look at me I'm coding.</p>
  <img src="https://theredsunflower.com/my-image.jpg">
  <a href="https://theredsunflower.com">This is my link</a>
</div>
Now, start writing HTML like Kayla!
Practice writing your own code in a free text editor like Sublime Text. You have all the tools you need to start writing great HTML code. If you have questions, leave them in the comments. Happy coding!
Leave a comment.